how to paint your first mural (or, at least, how I did it)
This post contains affiliate links to products. We may receive a commission for purchases made through these links.
For years, I’ve been following (and drooling over) the work of several muralists that I really admire: Phoebe Cornog & Roxy Prima (Pandr Design Co.), Lisa Quine, Phil Jarvis, and Katy Ann Gilmore, among many. I really admire muralists: the work is vulnerable and physically uncomfortable and makes such an incredible impact in communities and businesses. Your work is truly out there for the world to see and several challenges present themselves during the process: tech problems, budgets, weather, light, paint, other people, heights, textures… some things you can prepare for and others you just cannot. But, in the end, what they’ve created is a spectacle which draws people to itself - for the ‘gram and for true admiration. I really wanted to try my hand at that.
But, where to start? I work on a pretty small scale - both digitally and traditionally - and my painting experience has been limited to a canvas. Nonetheless, it was an itch I needed to scratch. I saw two options: I could tell clients I was offering this service, make up a pricing structure, have a client sign a contract, and hope for the best… or I could practice and make sure this was a service I could confidently offer. I’ve tried the “say yes, and figure it out later” approach in the past… it hasn’t always gone well. Nope - this process should be approached with stark honesty and this is what I did. My project proposals went along these lines: My name’s Jillian, I’m an artist in the St. Louis area, I’ve never done a mural, and I’d like to try doing one. If you let me have a wall, some paint, and a ladder… I’ll do one for free.

Proposals
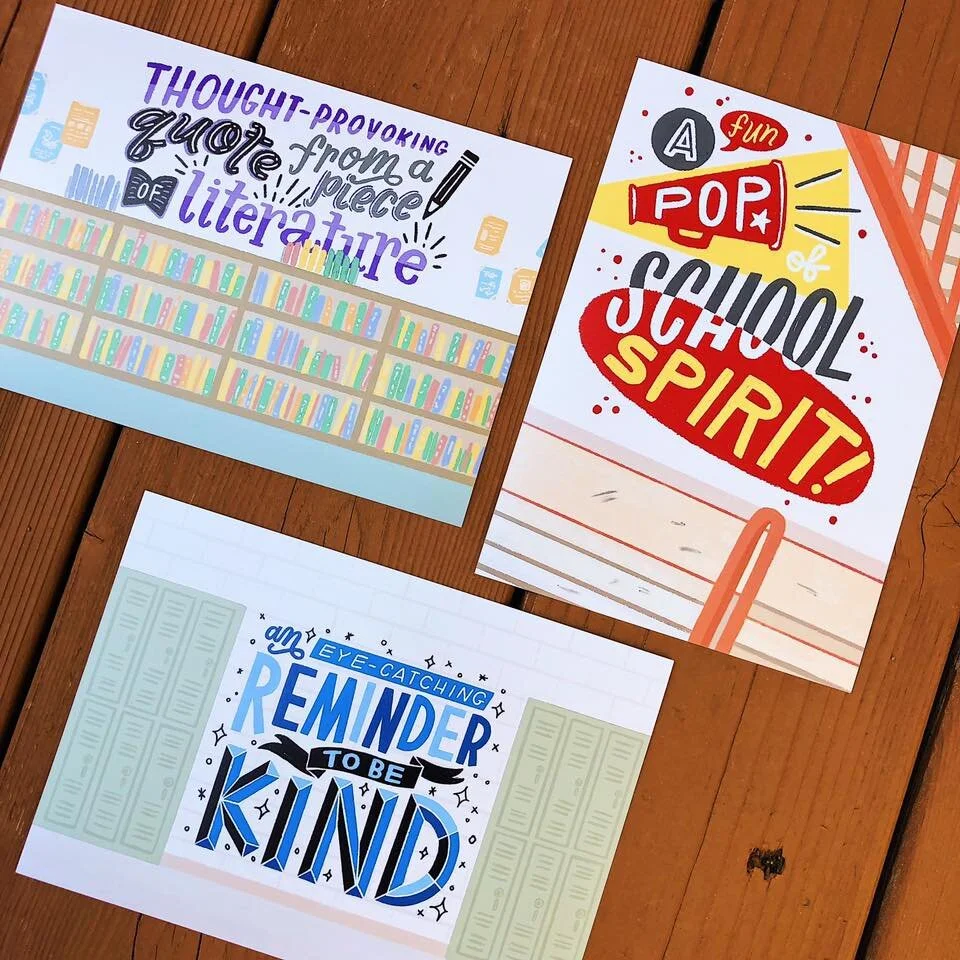
I sent out proposals in the mail to local schools - and I couldn’t help myself, I had to jazz up the envelopes. I had some 5x7 prints made of these mock-ups I created in Procreate on my iPad. I wanted each recipient to imagine spaces within their school buildings where a mural could be. I sent the mock-ups and letters out - and then I waited! Finally, I got a call from my alma mater.
We set up a meeting and I visited the school to meet the administrators who would be the deciders in this process. We walked around the school and I photographed walls, making sure to get shots that I could use for digital mock-ups later (important!). During our tour, I asked several questions to get a gauge of the kind of work they’d love to see on their walls: Does your school have a slogan or cheer that the kids all know? What sort of imagery would you want to walk by every day? I wrote down these phrases and responses as we went and also made notes on the dimensions of each wall/site we discussed.


Mock-Ups
In the end, I proposed four designs in total. I’m hesitant to post the other designs because I may want to use them for other schools/projects in the future. There was plenty of back-and-forth and, in the end, we settled on a mural design whose objective was school spirit.
At first, I was disappointed that they had not chosen a fairly detailed, very colorful, type-heavy design I had made… but, when it finally came to making the mural, all I can say is I’m grateful they did not. It would have been a doozy of a design to implement as my first mural. In my proposed contract, I was like a naïve, newborn baby and I told them (get this)… it would take me 5-6 hours to complete this mural. I mean, what did I know! It turns out… very little.
Before I get into the details of the installation, here’s a video of the work I did over the course of four days.
Installation
The school was gracious enough to prime the wall in preparation for me. When it comes to sketching a mural on the wall, there are a few ways I know of getting it ready to paint. One: you freehand that sucker. Hats off to those who have that amount of confidence, because I sure did not. Two: Grid system. You square off the design you made, scale it to your wall, and pencil in each square/rectangle. This is a valid and workable way - but I know myself. I don’t have that patience. Three: Use a projector.
I ended up getting this little guy pictured to the left. The DBPower Mini Projector is affordable and fairly bare bones. You can load images straight on to it, insert a USB drive straight into the projector, or hook your computer up to it. It’s lightweight and can be mounted onto a camera tripod. It comes with all the cords you need for these connections. It fit the criteria I needed and was cheap enough for me to pull the trigger. Is it the best projector for mural projections? Absolutely not. Some issues I ran into with this projector: once it was more than 10 feet away from the wall, it starts to become very fuzzy. I loaded some images on to the projector and it took close to a minute to load each one - it’s like my brain and eyes were buffering. And as for brightness, the janitors at SHS were kind enough to unscrew the bulbs from the hallway so it would be dark enough for the projection to be seen. I know I was asking a lot of this cheap projector - but this was the biggest deterrent in the process.
Painting


The school provided me with plenty of new paint to use and the use of a ladder for the installation. Here’s an issue I ran in to that I still don’t know a great solution: the paint was very watery. The brand was Valspar Signature, the paint was brand new… but I had to do 4-5 coats of the red for it to finally be opaque, 3 coats of white, and 2 coats of black. Remember that initial timeline I proposed to them: 5-6 hours? Due to the amount of coats needed, the entire process totaled at least 18 hours. If you have a paint suggestion, please let me know in the comments! I’ll update this portion of the blog with suggestions so others can follow your lead (and me, for that matter).
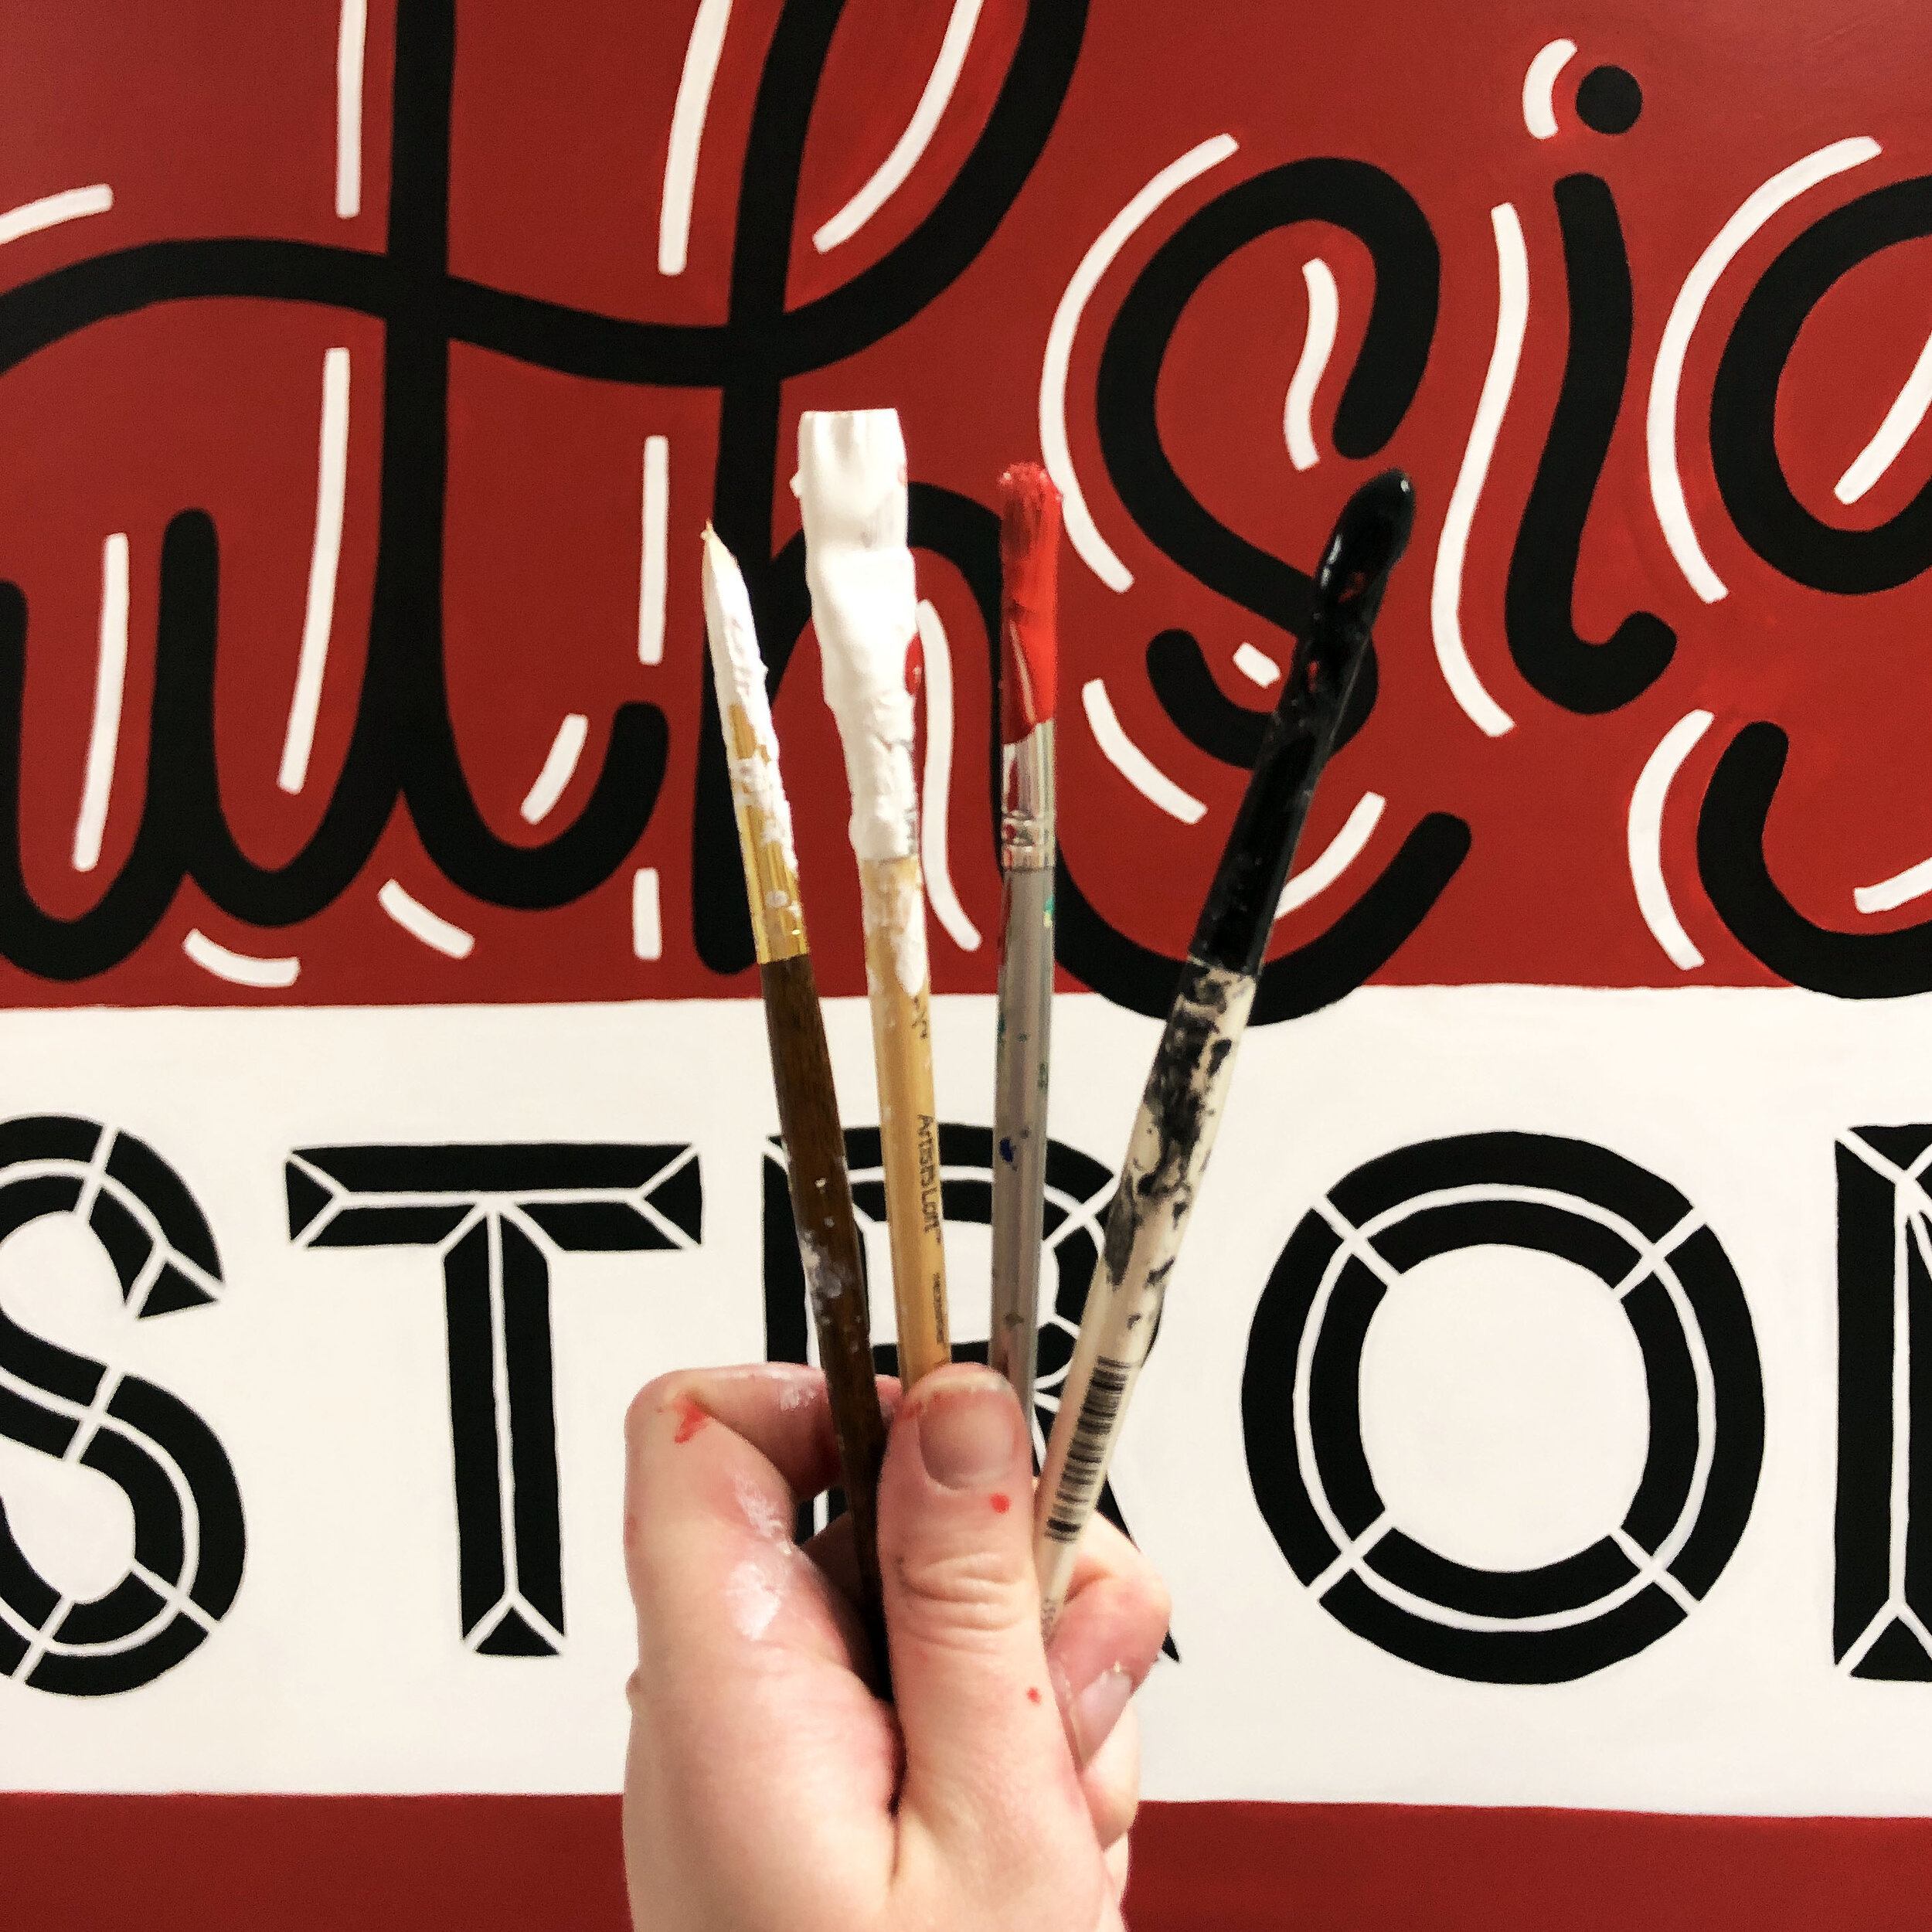
As for my tips for painting, I’m not entirely sure what to add because, once you have your shapes set in pencil, it’s a lot like a coloring book: just stay in the lines. I worked from the background color up to the top colors. I used brushes I had on hand and also some brushes I bought from the hardware store. I also used mini paint rollers to quickly cover the more expansive spots. The painter’s tape I used was trash - so I won’t recommend it, rather, I’ll link to a more reputable brand.
Here’s one tidbit that I found helpful the longer I worked: the speed of your hand is important for the neatness of your lines - but also pay attention to your breath. Steady your breath and your hand will steady in turn.
As for what was in my bag each day, here’s a basic toolbox list to get you started:

Finish It Up
After removing the painter’s tape, scraping dry paint off the lockers, and touching up some spots, I decided to stop fussing over it and add my signature to the wall. Hours of hard, slow work and problem-solving, with sore knees and an achy back, culminated in a piece of work that was truly satisfying to create. I mean it - fewer pieces have granted me more happiness than completing my first mural. Every ache and pain was worth it (also, doing your first mural in your first trimester is not ideal - but I enjoy a challenge) because I’m very proud of this mural. Looking at these images, I can see plenty of mistakes that I wish I had corrected and are glaringly obvious to me now. That’s totally fine. I plan on getting better and better through plenty of practice.
I have plans to complete another donated mural for an elementary school in the next couple of months and I’m certain I’ll continue to keep learning plenty of valuable lessons. If you have experience in muraling - what lessons have you learned? What’s a piece of advice you would give to first-timers? What problems did you learn to solve? Let us know in the comments below!
xo, Jillian