
how to paint canvas shoes
This post contains affiliate links to products. We may receive a commission for purchases made through these links.
Painting shoes used to be my JAM. I was always eyeing those clearance racks in search of cheap canvas shoes to paint on. Shoes are an interesting canvas - you have to be thoughtful about your composition, you get to wear your art, and you wouldn't believe the friends you can make just wearing fun shoes. Here's a little sampling of canvas shoes I have painted in the past:
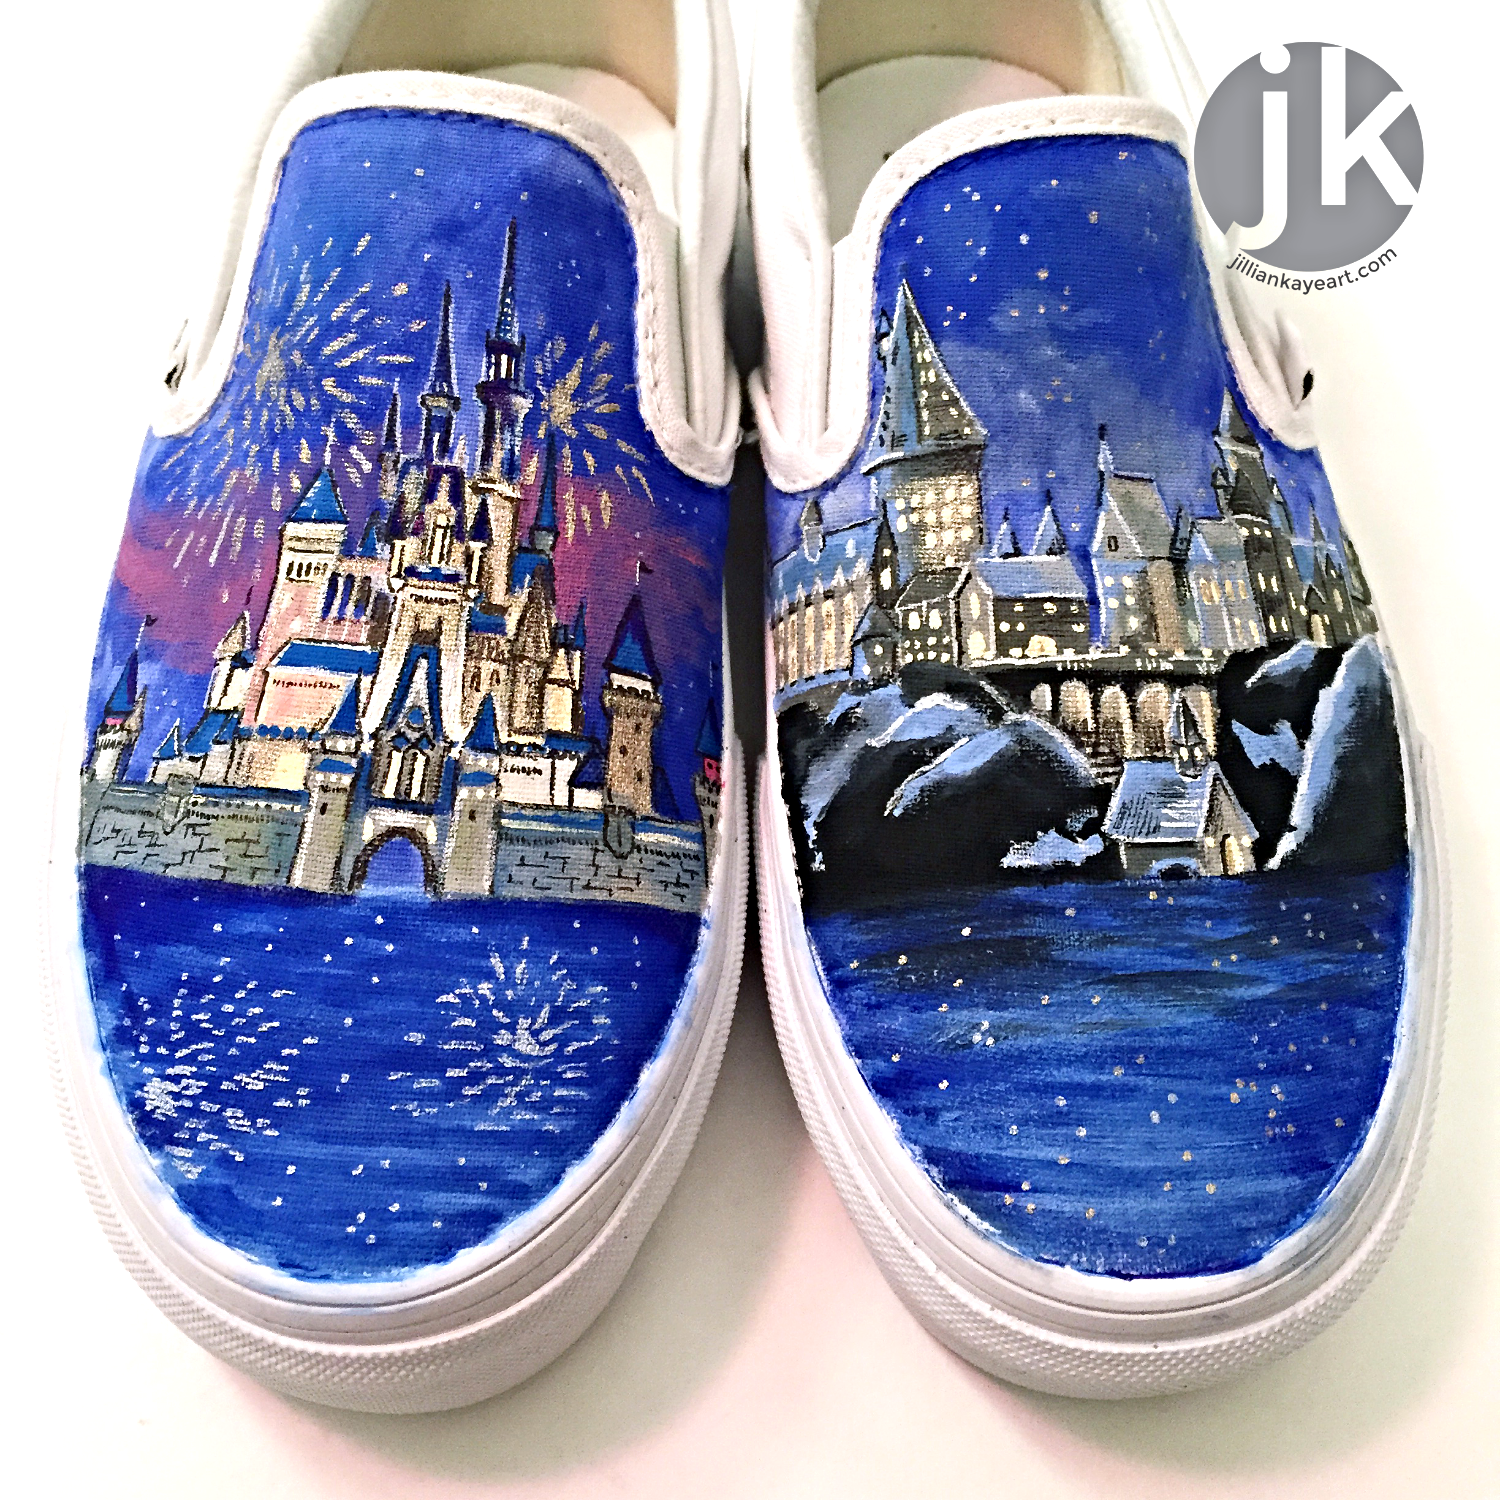
I haven't painted shoes for myself in probably four or five years and I've been saving a fresh, beautiful pair of Vans that my sister got me for my birthday in either 2011 or 2012. I know, it's 2016. But they're the nicest canvas shoes I've ever owned and I needed to be certain about what I wanted to paint and wear. With an upcoming trip to Walt Disney World and Harry Potter World on the horizon, I knew I needed some kicks to celebrate the trip.
Over the years, I've definitely learned some valuable lessons when it comes to painting shoes. Those Breaking Bad shoes - the paint cracked after only one wear. I was so heartbroken. I had given those to my brother whom loves Breaking Bad, and I was so excited for him to wear them. I had layered on the paint too thickly. Lesson learned. The Switchfoot shoes - I had forgotten to seal them with a waterproofing spray and now they're dingy and dirty. To be fair, I initially withheld the spray so I could get them autographed but I really should have sprayed them once they were signed. Whoops. Lesson learned.
CHOOSING YOUR SHOES
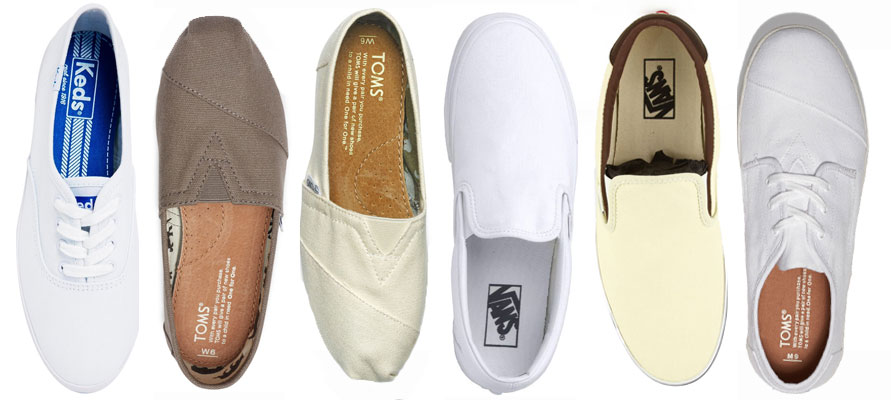
white canvas keds | canvas toms | canvas vans
Vans canvas slip-ons, or off-brand shoes in the same style, are the broadest and easiest canvas to work on. I like all the different colors that Toms come in; it allows for you to have an already toned canvas, like the Totoro shoes I made. That scene was already gray and painting right on top of it saved me from having to go over each part of the shoe with paint. Toms have that invasive seam across its face so do factor that in when designing your composition. Which leads me to the next step...
DESIGNING YOUR SHOES
If you'd like to go directly to painting, feel free! I like to map out my shoes and sketch my design before I work on that final canvas. It gives you some foresight into what will work within the confines of the canvas.
First, I collect reference images for the design I've thought up. I knew I wanted the castles but wasn't sure about my composition. When my image search revealed they were both on the water, the deal was sealed. The water would connect the two castles, as well as the starry sky.
In this instance, I created my own template by placing each shoe on the paper, tracing around it and marking where the top of the shoe lip was. Vans are not exactly a rectangular canvas so it was important to factor in the height of my design so no spires would be cut off by the two elastic sections on each side at the top. If you'd rather not trace, here are downloadable templates for both Toms and Vans.
PREP YOUR SPACE
Another step before you paint, prep your space so everything is there when you need it. In my case, I have my computer open to my reference photos, my sketch at hand, all my paints in front of me (not pictured), all my brushes (you'll want a selection of small round and few small flat brushes), a mug of clean water to rinse brushes, paper towels, a pencil to sketch on your shoes, and finally, your shoes. One more step! Stuff the toes of your shoes with plastic bags to raise your canvas and smooth it out. It is SO much easier to paint on when you fabric is not shifting under the weight of your brush. This will also ensure the paint dries evenly.
When it comes to paint, the acrylic craft paints you can get from Michael's will do just fine. Like I cautioned in my painted chair tutorial, the Craft Smart brand is not high-quality. You may have to use several layers of the paint, but in this project, that works just fine. Because we want to build up thin layers of paint to ensure the design will not crack once it dries, the cheap acrylic paints will suffice, though I do find they are more difficult to mix in order to get different hues.
DecoArt Crafter’s Acrylic Pastels Paint Set
Apple Barrel, Vibrant Spectrum Collection Acrylic Craft Paint
sketch it out
You've sketched it on your paper so you should have full confidence in transferring that drawing to your shoe! Refer to your drawing and your collected images. If it's not turning out the way you envisioned, that's alright! Erase it, think on your problem, and start again. All the lines won't erase entirely (especially if you draw hard, like I do) but they will eventually be covered up by paint.
START PAINTING
For this pair, I chose to work on one shoe at a time. When the composition flows from one shoe to the other, like the Switchfoot shoes, I would encourage you to tackle both shoes at once to get consistent color.
When you lay down blocks of color and start to blend your paint, it looks terrible. I honestly hate this step of the process because I see what I'm painting and I think, "Good God, Lemon. You have an art degree. It looks like a bruise in the shape of a castle." Don't lose heart - keep painting the colors you see in your reference photo. I was working from the well-known image we see before a Disney movie begins (with the music, you know, duh nuh nuhh na bah duh duuuuuh!) and the more I studied it, it was colored differently than the actual castle. During the daytime, Cinderella's Castle is white, gray, and blue. At night, with all the lights shining on it, it reflects green, yellow, pink, and blue. Study your reference images and paint the colors that you see. When the colors lay next to one another, you'll start to see a more finished design.
ADD DETAILS AND OUTLINES
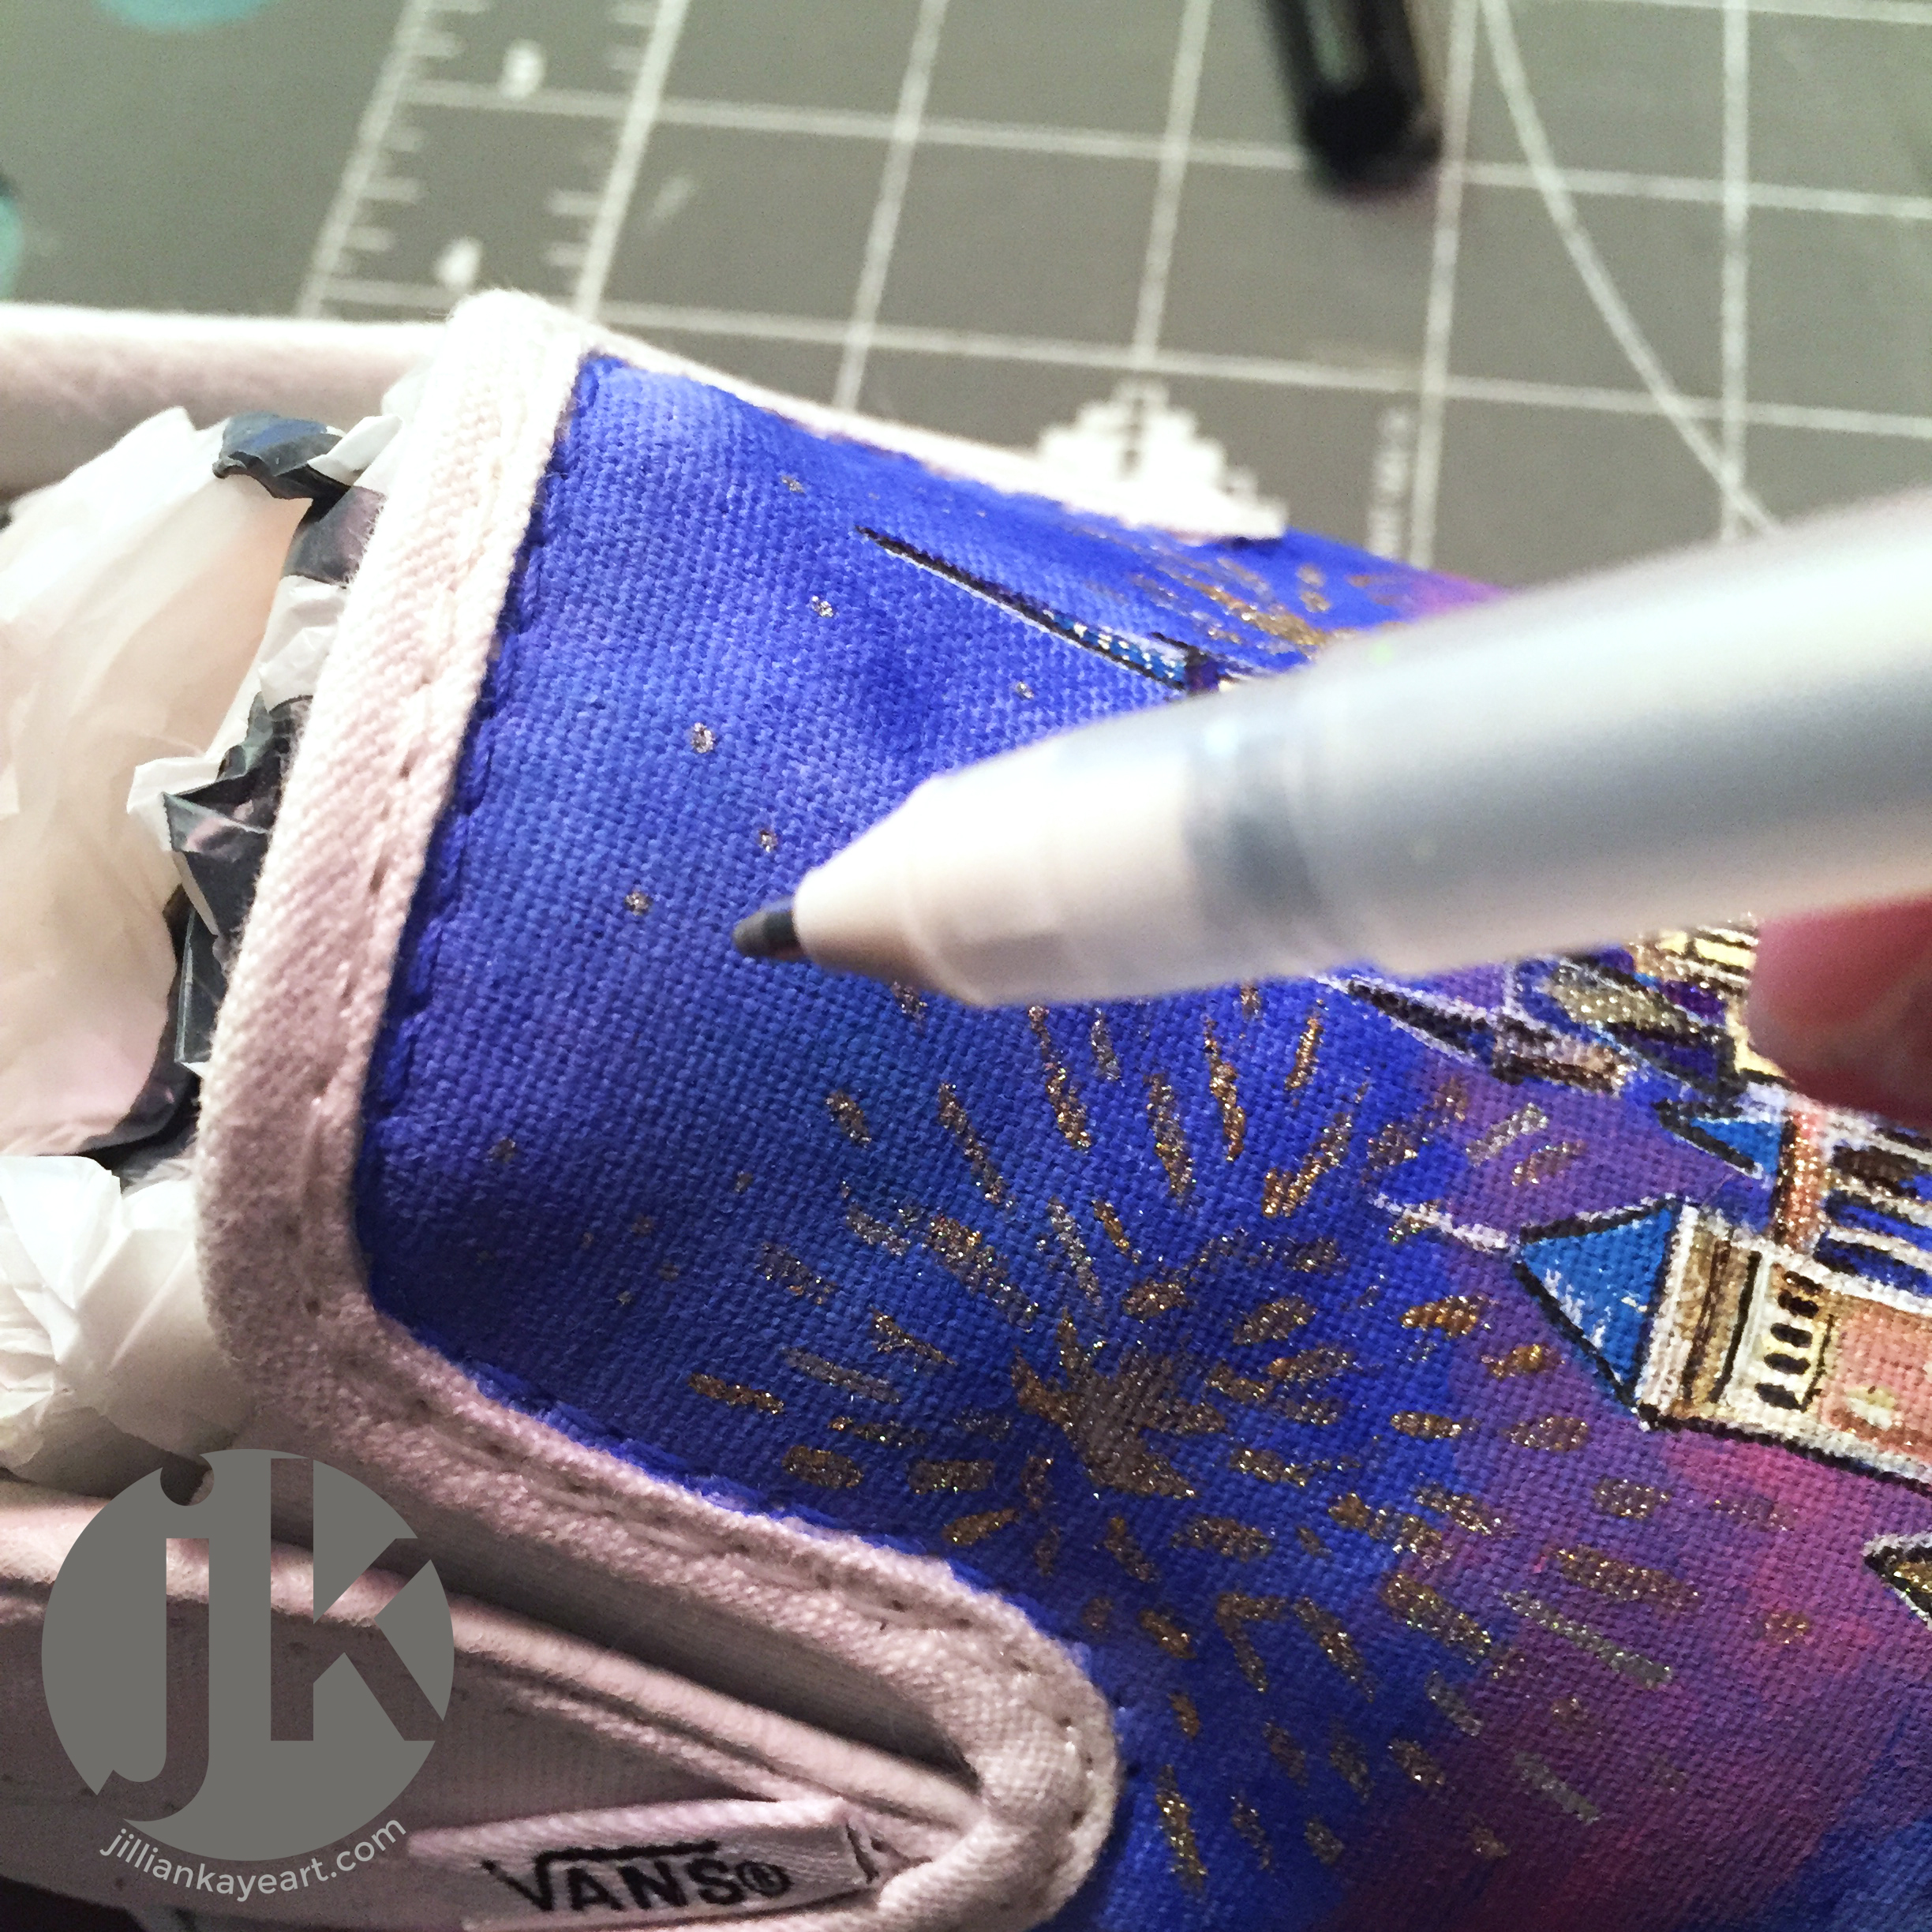
Once all your paint is applied and blended together (blending tip: put the paint in patches on the canvas, saturate your brush in water, and blend on the canvas. Keep dipping your brush in water and blending in order to get smoother transitions between colors. Getting the color mixed before it touches the canvas is well & good, but sometimes it just needs to happen on the shoe.), let the paint dry. Come back with some Ultra-Fine Tip Sharpies and some Sakura of America glitter gel pens. Outline your shapes and then step back and study. Where does the design need some highlights? Go back and add those. Where does it need to be darker in order for other details to have a better contrast? Darken those areas. Work slowly so you'll be happy with your hard work.
SEAL THOSE PUPPIES
I wish I could tell you that you can wear painted shoes any day of the week, rain or shine, winter, spring, summer, or fall. But I cannot (in good conscience, that is). To keep your artwork bright and undamaged, I strongly suggest to check the weather before you leave the house in your beautiful new shoes. But they don't have to be completely helpless against the elements - seal them with a water-proofing spray. The biggest tip I can give you with this step is this: spray in pointed bursts. Do NOT drag the can across the shoes while you are spraying. What happens when you do that: your details will smear, and your paint may as well, as the stream shifts direction. Pick a spot, spray two bursts, shift to the next spot, repeat. While your design is most likely central on the canvas, do not forget to carefully spray the paint where the canvas meets the rubber. This is where dirt and water will most likely contact your artwork and the first place it will become dirty and dingy. Spray evenly across the shoes so no one place is saturated, which may also lead to cracking.
HIT THE ROAD, JACK
You did it! I'm so proud of you! You should be proud of yourself, too! Don your fancy new kicks and hit the road. And when you're done painting your shoes - tag me so I can see! My Instagram is @pbandjillian.